
What may be a waste to you could be a taste for your plants! Composting is a simple yet powerful way to reduce waste and create nutrient-rich soil for your garden. But did you know that compost is one of the best resources for your garden in terms of plant nutrition and saving money? It’s true! Store-bought compost can be expensive because of the labor involved in manufacturing it. But guess what? Making your own is really simple, and anyone can do it with even just a little bit of space, think a couple of trash cans or a compost tumbler.
Convenience
The first thing I wish I knew when I started gardening was that I could make my own compost. I always thought it only came bagged from a store or people with massive backyards can do it. This is a typical newbie mistake and you fall into the “convenience vortex,”, but so much of it can happen right at home, in your backyard! It was empowering to realize I could do it, and you can too! Procrastination won’t work, composting will work for you!
Choosing the Right Location
When starting your composting journey, selecting the right location is crucial. The bigger it is the more you will get out of it, but if you have potted plants on a balcony, you don’t even need larger spaces. Point to note is to opt for a location that offers some shade, protecting your materials from drying out under the scorching sun.
Essential Equipment

You can completely scroll this section if you aren’t smart enough in your composting journey, small cute places or even big lavish ones deserve the best out of your time, here’s how you do it.
Decomposition Process
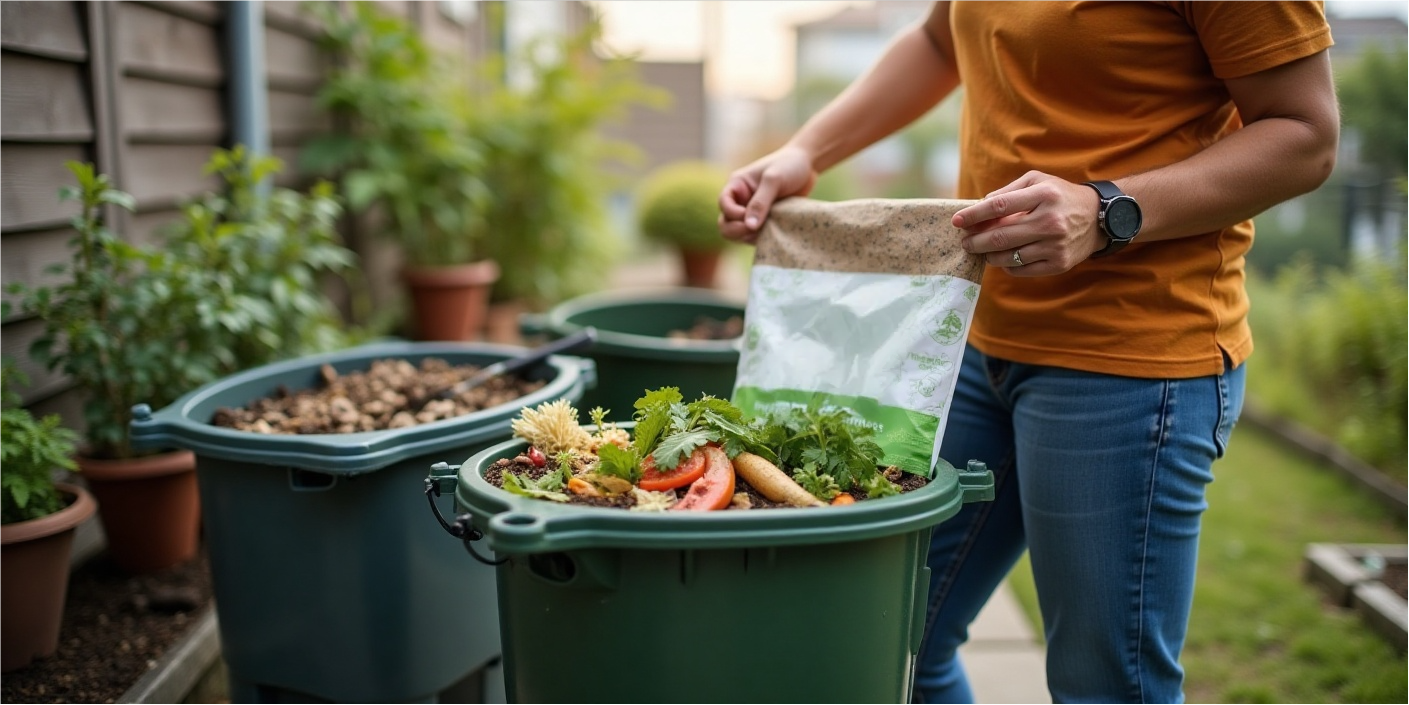
Composter: This could be a simple pile, a self-made bin, or a rotating compost tumbler, depending on your available space.
Compostable Garbage Bags: Segregate and add your trash to this, and it can go straight into the compost bin. Ecolastic Garbage bags are NITI Ayog Recommended!
Gardening Gloves: Protect your hands from dirt and any prickly surprises.
Compost Starter: Think of this as a kick-starter for your compost, helping to speed up the decomposition process.
Bucket: For collecting kitchen scraps.
Rake: Useful for turning the compost pile.
Wheelbarrow: For transporting materials.
Understanding Green and Brown Materials
Composting is like baking a cake; you need the right ingredients. It requires a balance of green (nitrogen-rich) and brown (carbon-rich) materials. Green materials include those vibrant grass clippings and food scraps, while brown materials are your trusty dead leaves and cardboard. Aim for a mix of about 50% green materials and 50% brown to start with.
- Brown material includes dead leaves, straw, hay, newspaper shreddings, and cardboard, which contain more carbon.
- Green material includes things like grass clippings, green plant material, and even non-green items high in nitrogen, like chicken manure.
Compost Time: Patience is Key
Now, let’s talk about time. When I started, I read online that compost could be ready in just 3-5 weeks! That’s attainable, sure, but it requires a ton of effort, including the right ratios of green and brown material, oxygen, water, and frequent flipping.
For us regular gardeners, who aren’t putting in that much effort, compost might take 2-3 months or even longer. And that’s perfectly fine! The time it takes is directly related to the effort you put in. Don’t feel discouraged if your compost isn’t ready in record time; slow composting is still good composting.
Turning and Aerating
Keep it moving, keep it fresh! Turn it every week or two to ensure oxygen reaches all parts. This helps prevent anaerobic conditions and keeps your compost fresh. What can take months, will just take you weeks with this method. It’s important to note that different materials break down at different rates.
What Not to Compost
Dairy and Meat: These can attract pests and create unpleasant odors.
Chemically Treated Wood: Contains toxins harmful to plants.
Diseased Plants: Can spread disease in your garden.
How to Apply Compost Properly
Now, the big question: how do you use this magical stuff? Applying semi-finished or not completely broken-down compost worked into the soil can lead to nitrogen sequestration, where the breakdown process robs nitrogen from the soil, potentially causing yellowing plants or nitrogen deficiencies. Not good!
That’s why I prefer a no-till gardening approach, laying compost as a mulch on top of the soil. Layering compost on top minimizes soil disturbance, allowing worms and other microbes to mix it in as they break it down. Even if compost looks mostly finished, applying it as a mulch is a good practice.
Benefits of Composting
Composting reduces waste, conserves water, and creates nutrient-rich soil for healthier plants. It’s a sustainable practice that benefits both your garden and the environment. Using biodegradable garbage bags and compostable bags can help make the process even more eco-friendly by ensuring that no plastic waste enters your compost pile.
Overcoming Challenges
Composting can be challenging, especially in small spaces or with pests. Be creative with equipment, and consider indoor composting solutions if needed.
Even in urban settings, composting is possible. Use compact bins with Ecolastic garbage bags, tumblers, or even compost worms for vermicomposting.
If you don’t have the time or space to compost, there are alternatives! Many places sell bulk compost, or you can simply look up “compost near me” to find local suppliers. For a unique approach, try mushroom compost, which is rich in nutrients and great for soil health.
Conclusion
Composting is a rewarding journey that requires patience and practice. By understanding the basics and avoiding common mistakes, you can create a thriving compost pile that enriches your garden and reduces your environmental footprint. Whether you use a DIY compost bin, a compost tumbler, or opt for biodegradable products and compostable bags, every step toward sustainability makes a difference!